Post Pay Counter PRO allows you to pay your writers on WordPress basing on how many Google Analytics visits their posts received. This tutorial shows how to authorize Post Pay Counter to access your Analytics data. After this, you may be interested in setting up an effective visits payment flow.
Note: Google is retiring Universal Analytics as of 2023. For more information, see The future of Analytics integration and GA4.
Note: Post Pay Counter PRO does not keep track of Analytics visits, it can only use them to compute the payments. For the tracking you will need some other plugin, like Google Analytics for WordPress.
To set up Analytics, go to Post Pay Counter > Options > Google Analytics Settings. The settings do have some default values which are fine in most circumstances, but in case you wanted change them, you should do that before continuing. Don’t forget to hit the Save options button after any settings change.
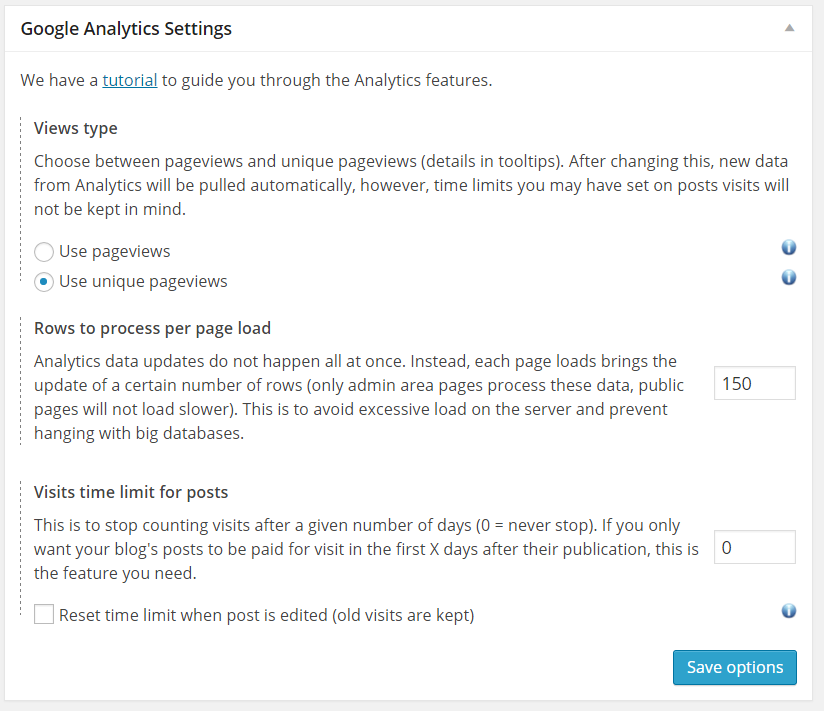
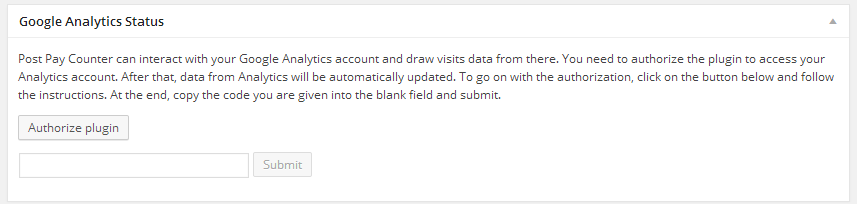
When you are satisfied with the settings, head to the Google Analytics Status box. It allows to authorize the plugin to make requests to Analytics on your behalf, thus getting visits data for your site. Click on Authorize plugin to get started.
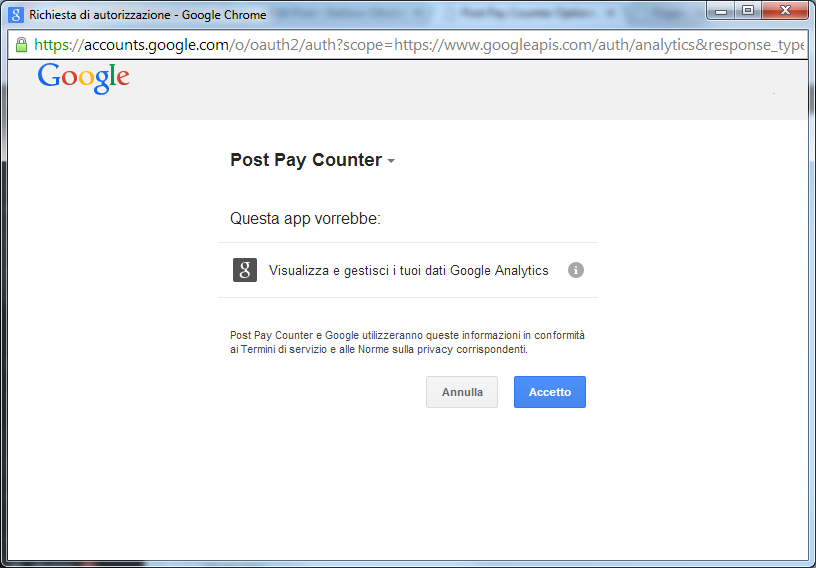
 You will get a window asking you to confirm the authorization. Note that the only permission the plugin asks for is to view and manage your Analytics data. Click on the blue box to go on.
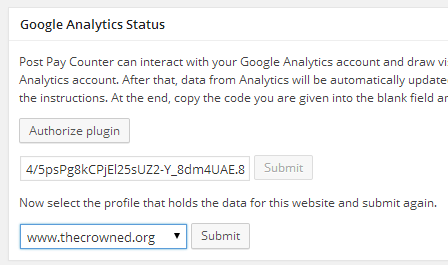
You will be given a weird alphanumeric code: copy it fully in the clipboard and close the window.
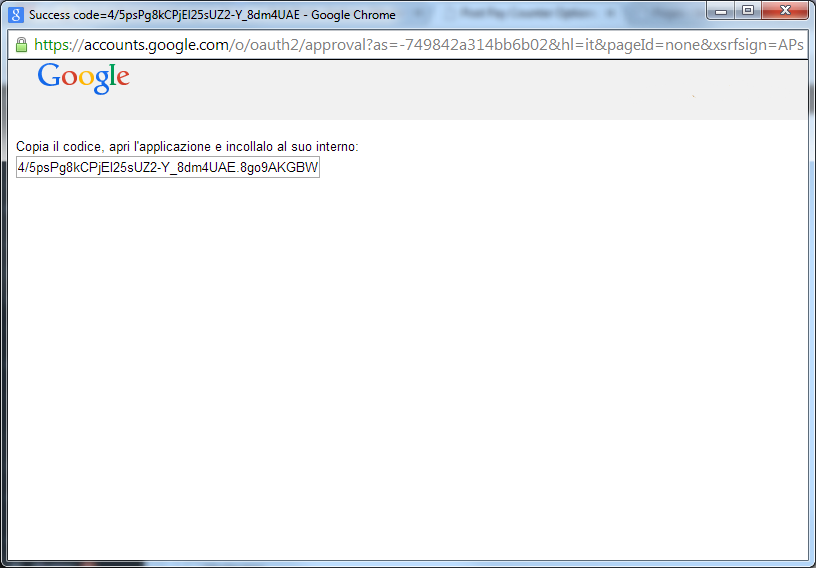
Back in the plugin options page, paste the code in the field just below the authorization button you clicked before and click Submit. In a couple of seconds the list of your profiles will be loaded: select the one that corresponds with the site you are using and click Submit again.
NOTE: if you only see a bunch of All Website Data as profile choice, and can not pick the right one, have a look at this tutorial to fix the issue!
That’s it! You have successfully set Analytics up to work with Post Pay Counter. The page will be reloaded and a brand new Google Analytics Status box will show up.
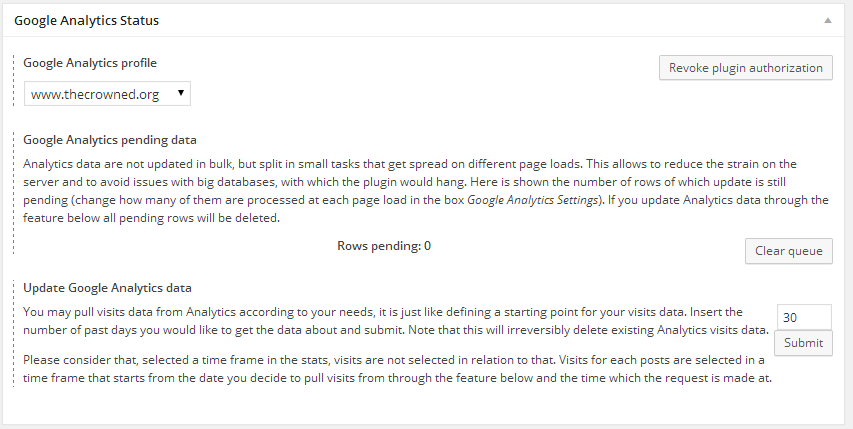
From now on, the plugin will periodically reach out to Analytics to get the latest visits data. You may want to get some data for past days as well (optional, but useful actually!): go to the Update Google Analytics data section, input the number of days of past visits data you would like and hit the Submit button.
Every time some data is being updated, the Rows pending counter will display the number of pieces of data that still have to be updated. If, after setting up Analytics and pulling data, you still have posts showing up with 0 or a low number of views, it is likely that not all rows have been dealt with yet.
Finally, you can always undo this authorization through the Revoke plugin authorization in the upper right of the box. Prior to version 1.8.9.2 this would also delete all visits data in the database.